Ship Trading Cards Safely: Match Packing to Value, From Raw to Slabs
By Ripbin Research · Published 2026-10-12

Ship Trading Cards Safely: Match Packing to Value, From Raw to Slabs
The safest standard method is penny sleeve, then toploader or Card Saver, then team bag, then a cardboard sandwich, then a padded mailer or small box, with tracking and insurance added for valuable cards. You need a handful of cheap supplies: sleeves, holders, team bags, cardboard, tape, and a mailer. For single high-value cards or graded slabs, extra cardboard and declared insurance value matter more than the box itself.
TL;DR:
- For grading submissions, use Card Saver 1 rather than a toploader, follow PSA’s packaging checklist, and keep paperwork inside with the matching declared value.
- USPS Ground Advantage takes 2 to 5 business days and includes tracking plus $100 insurance; add coverage when the card’s value exceeds that amount.
- Once a shipment has more than roughly ten stacked holders, use a small box because a padded mailer may bend under their combined thickness.
- A plain white envelope suits only cards worth a dollar or two; keep it under a quarter inch thick to avoid manual sorting surcharges.
- For international shipments, use a sturdy small box and declare the card’s actual value, since customs forms and extra carrier handoffs mean more handling.
Table of Contents
- Essential supplies and why each matters
- How to pack and ship a single raw card (cheap to expensive options)
- Packing multiple cards and small lots (2–20 cards and bulk)
- Shipping to graders and protecting graded slabs
- Plain white envelope risks and the non-machinable surcharge
- Postage, tracking, and insurance: carrier choices and practical coverage
- Packing checklist and shake-test protocol
- International shipping: customs forms and extra precautions
- Timing shipments to avoid delays and transit damage
- Choosing reliable carriers beyond USPS
- Ripbin perspective: valuing before shipping and grading decisions
- Check card values before you pack or insure
- FAQ
- Sources
Essential supplies and why each matters
Every layer in a card shipment solves a specific problem, and skipping one usually shows up as a bent corner or a scuffed surface on the other end.
A penny sleeve is the first barrier against dust, fingerprints, and surface scratches. It should fit snugly without forcing the card, since a loose sleeve lets the card shift and a tight one can crease edges on insertion.
From there, the choice is between a rigid toploader and a semi-rigid Card Saver. Toploaders give maximum rigidity for raw cards you’re keeping or selling as-is. Semi-rigid holders like Card Saver 1 are what PSA recommends for submissions, since graders can slide a card out faster than from a snug toploader, reducing handling damage during intake.
A team bag goes over the toploader or Card Saver, acting as a moisture barrier and keeping the sleeve from sliding around inside the holder. For choosing a toploader sized correctly to the card, a top loader buying guide breaks down thickness options for graded versus raw cards.
The outer shell depends on volume and value:
- Rigid cardboard pieces sandwich the sleeved card for a stiff, crush-resistant core.
- Padded mailers work well for one to a few cards when cardboard stiffeners are added.
- Small boxes are worth the extra cost for slabs, high-value singles, or anything shipped internationally.
Tape goes on the team bag and outer packaging, never directly on a toploader, since adhesive residue on a raw card’s holder can transfer and ruin resale value. Corner protectors, thin foam strips, and dedicated signature-card sleeves are optional but worth adding for autographed or especially fragile pieces.
How to pack and ship a single raw card (cheap to expensive options)
Packing one card correctly takes under five minutes once you have the right supplies on hand.
- Slide the card into a penny sleeve, checking it isn’t bent during insertion.
- Place the sleeved card into a toploader (or Card Saver if it’s headed to a grading submission).
- Seal the holder inside a team bag, taping the bag shut, never the holder itself.
- Cut two pieces of rigid cardboard slightly larger than the holder and tape the holder between them, forming a stiff sandwich.
- Insert the sandwich into a bubble mailer for lower-value cards, or a small box for anything you’d be upset to see damaged.
- Add a piece of extra cardboard or foam along the opposite wall of the mailer so the card can’t slide toward an edge.
- Seal every open seam with packing tape and apply the shipping label clearly on the flattest surface.
For a card worth a few dollars, a padded mailer with the cardboard sandwich is plenty. For anything in the mid-range, a small box adds a layer of crush resistance that a mailer alone can’t match. For a single high-value card, use a small box, double up the cardboard, and add tracking plus declared insurance that matches what you’d actually ask to be reimbursed.
Pro Tip: Orient the card so its long edge runs parallel to the mailer’s fold line, since that’s the direction most bending stress occurs in transit.

Rounding a corner against the inner wall before sealing also helps confirm there’s no loose space for the card to travel during handling.
Packing multiple cards and small lots (2–20 cards and bulk)
Shipping several cards at once changes the math: you’re protecting against cards grinding against each other, not just against the outside of the package.
For two to five cards, individual toploaders or Card Savers sleeved and team-bagged, then stacked together inside one cardboard sandwich, work well and keep cost low. Past five or six cards, stack sleeved cards in a single thick toploader-style penny sleeve stack only if they’re low-value commons, since anything you’d want to resell individually deserves its own holder.
- Toploader each card individually when any card in the lot has resale value above a few dollars.
- Batch-sleeve bulk commons in stacks of 10 to 20 inside a rigid box, since individual holders aren’t cost-effective for low-value cards.
- Separate stacks with cardboard dividers every five to ten cards to stop shifting during transit.
- Fill empty space with crumpled paper or foam strips rather than leaving air pockets that let the stack slide.
A small box beats a padded mailer once you’re past roughly ten holders stacked together, since the combined thickness starts to resist the bend a mailer would otherwise allow. Secure the stack with a rubber band or tape before boxing so nothing separates mid-transit, and always add a final rigid piece on top of the stack before closing the box.
Cost-saving without cutting corners usually means buying holders and team bags in bulk rather than skipping a protective layer, and reusing well-sized boxes instead of buying new ones for every shipment.
Shipping to graders and protecting graded slabs
Submissions and already-graded slabs need different handling, since one is protecting a raw card headed into grading and the other is protecting a sealed holder that’s already valuable.
For submissions, PSA’s own submission guidance outlines packaging expectations for assisted and standard submissions, and the semi-rigid Card Saver 1 is the holder most consistently recommended because it balances protection with easy handling by graders.
- Use Card Saver 1, not a rigid toploader, for cards you’re sending in for grading.
- Follow the submission packaging checklist PSA publishes rather than improvising your own order of layers.
- Pad the outer box generously, since submissions often travel with multiple cards from several customers in one shipment.
- Keep paperwork with the cards, inside the package, matching the declared value on your submission form.
For already-graded slabs coming back to you or being resold, the holder itself is rigid, but the corners of the slab are still vulnerable to impact. Wrap each slab in bubble wrap or foam, then place it between two pieces of thick cardboard before boxing, and never let multiple slabs touch directly, since hard plastic on hard plastic is how corners crack in transit.
Declare insurance value matching what the card is actually worth, and keep your grading company’s invoice or your own sale receipt as documentation in case a claim becomes necessary.
Plain white envelope risks and the non-machinable surcharge
A plain white envelope, often called a PWE, is the cheapest way to mail a single low-value card, but it comes with real trade-offs.
A PWE is reasonable for commons worth a dollar or two where losing the card wouldn’t sting. It’s the wrong choice for anything you’d actually want insured, since envelopes get run through sorting machines and folded or bent far more often than boxes or padded mailers.
- Avoid PWEs for anything above a few dollars in value, since there’s no tracking or insurance built in by default.
- Add rigid cardboard stiffeners cut slightly larger than the card if you do use a PWE, taped flat inside.
- Keep the thickness under a quarter inch to avoid triggering a non-machinable surcharge, which applies when an envelope is too rigid or lumpy for automated sorting.
- Label clearly and keep the envelope flat, since a bulging or oddly shaped envelope gets flagged for hand processing and extra fees.
Postage, tracking, and insurance: carrier choices and practical coverage
Getting postage right means matching the service level to what you’re actually shipping, not defaulting to the cheapest option every time.
USPS Ground Advantage covers most card shipments well: it handles packages from 1 ounce up to 70 pounds, arrives in 2 to 5 business days, and includes tracking and $100 of insurance by default, with the option to purchase up to $5,000 in additional coverage. For single low-value cards, First-Class mail in a PWE is cheaper but drops the included insurance and tracking that Ground Advantage builds in.
- Use Ground Advantage for nearly all padded mailer and small box shipments, since the included coverage matches most card values.
- Buy additional insurance when a card’s value exceeds the included $100, matching the declared amount to what you’d claim.
- Keep tracking active on anything you’d dispute if it went missing, since untracked mail has no delivery proof.
- Photograph the packed card and the sealed package before dropping it off, since claims process faster with visual proof of condition and packaging.
If a package is lost or arrives damaged, file the claim promptly with your photos and the original receipt or invoice attached, since delayed claims are harder to resolve.
Packing checklist and shake-test protocol
Before sealing anything, run through a short checklist so you’re not discovering a problem after the package is already taped shut.
- Confirm the card is in a snug penny sleeve with no visible bend.
- Confirm the holder type matches the purpose, toploader for resale, Card Saver for submission.
- Confirm the team bag is sealed without tape touching the holder.
- Confirm the cardboard sandwich fully covers the holder on both sides.
- Confirm the outer mailer or box has no empty space the card could shift into.
- Shake the sealed package gently near your ear and feel for movement.
The shake-test is the fastest way to catch a packing mistake. If you hear or feel anything shifting inside, open the seal, add a filler strip or a slightly smaller box, and reseal. Movement inside a package is consistently the point where corners and edges take the worst damage, more than thin padding on the outside ever causes.
Pro Tip: If you’re shipping several orders at once, run the shake-test on each package separately right before it goes in the mail stack, since fixing one after the others are sealed wastes the batching time you saved.
Batching several orders together saves time on sourcing supplies, but each package still needs its own individual seal check and shake-test before it leaves your hands.
International shipping: customs forms and extra precautions
Shipping cards across a border adds a paperwork step and a bit more packaging caution, since customs handling means more transfers between carriers and inspection points.
A customs declaration form is required for most international card shipments, listing the contents as collectible trading cards and the declared value matching what you’d actually claim if the package were lost. Underdeclaring value to save on duties can backfire if a claim is ever needed, since the carrier will only honor what’s written on the form.
For packaging, DHL’s guidance on shipping collectibles recommends extra rigid layers and a sturdy outer box for anything crossing borders, since international transit involves more handoffs between carriers than a domestic shipment. A small box beats a padded mailer for nearly all international card shipments, high value or not, given the additional handling involved.
Check the destination country’s import rules for any restrictions on collectibles before shipping, since customs delays are far more common than lost packages and usually resolve on their own once the form is reviewed. Keep a copy of the customs form and tracking number together until delivery is confirmed.
Timing shipments to avoid delays and transit damage
When you ship matters almost as much as how you pack, particularly around peak shipping periods when sorting facilities handle higher volumes and packages get more handling overall.
Avoid mailing valuable cards right before major holidays, since carrier volume spikes typically mean more transfers and a higher chance of a package getting jostled or delayed. Early in the week tends to move faster than a Friday drop-off, since weekend backlogs at sorting facilities can add a day or two before a package even starts moving.
Extreme heat and cold aren’t usually a concern for cards themselves, but a package sitting in a hot mail truck or delivery box for hours is worth considering if you’re shipping something like a vintage card with existing surface wear. Dropping a package directly with a postal worker rather than leaving it in an outdoor collection box reduces the number of touchpoints before it enters the sorting system.
Building in a buffer day or two before a grading submission deadline or a marketplace shipping window gives you room to reship if a package is delayed, rather than scrambling at the last minute with a rushed, less careful pack job.
Choosing reliable carriers beyond USPS
USPS Ground Advantage covers most domestic card shipments well, but FedEx and UPS are worth comparing for specific situations.
FedEx and UPS both offer ground and expedited services with tracking built in by default, and their insurance structures tend to favor higher declared values better than USPS for genuinely expensive single cards or large graded slab shipments. For a single raw card worth a few dollars, the extra cost of FedEx or UPS rarely makes sense next to USPS Ground Advantage’s included coverage.
For heavier bulk shipments, comparing rates across all three carriers for your specific package weight and dimensions is worth the five extra minutes, since pricing structures shift depending on box size and distance in ways that aren’t always intuitive. Many grading companies and marketplaces also have preferred carrier relationships or drop-off partnerships, so checking whether your destination has a recommended carrier can simplify the decision.
Whichever carrier you choose, keep the same packing standards: team bag, cardboard sandwich, and a box or mailer with no room for the card to shift.
Ripbin perspective: valuing before shipping and grading decisions
How much protection and insurance a card deserves comes down to one question: what is it actually worth right now? A card that last sold for $15 doesn’t need the same box, insurance, or grading submission as one trending toward $300.
Checking current market data before you pack, rather than relying on what a card sold for months ago, shapes both the declared insurance value and whether grading makes sense at all. Our research on actively traded cards shows how quickly values shift for cards in active circulation, which is exactly the kind of movement that should inform a shipping and insurance decision made the same week you pack the card.
— Saad
Check card values before you pack or insure
You can see a card’s current market value in seconds, before you decide how much protection or insurance it deserves. Scan a card, check recent sales, and set a declared value that actually matches what the market says it’s worth right now rather than a guess from months ago.
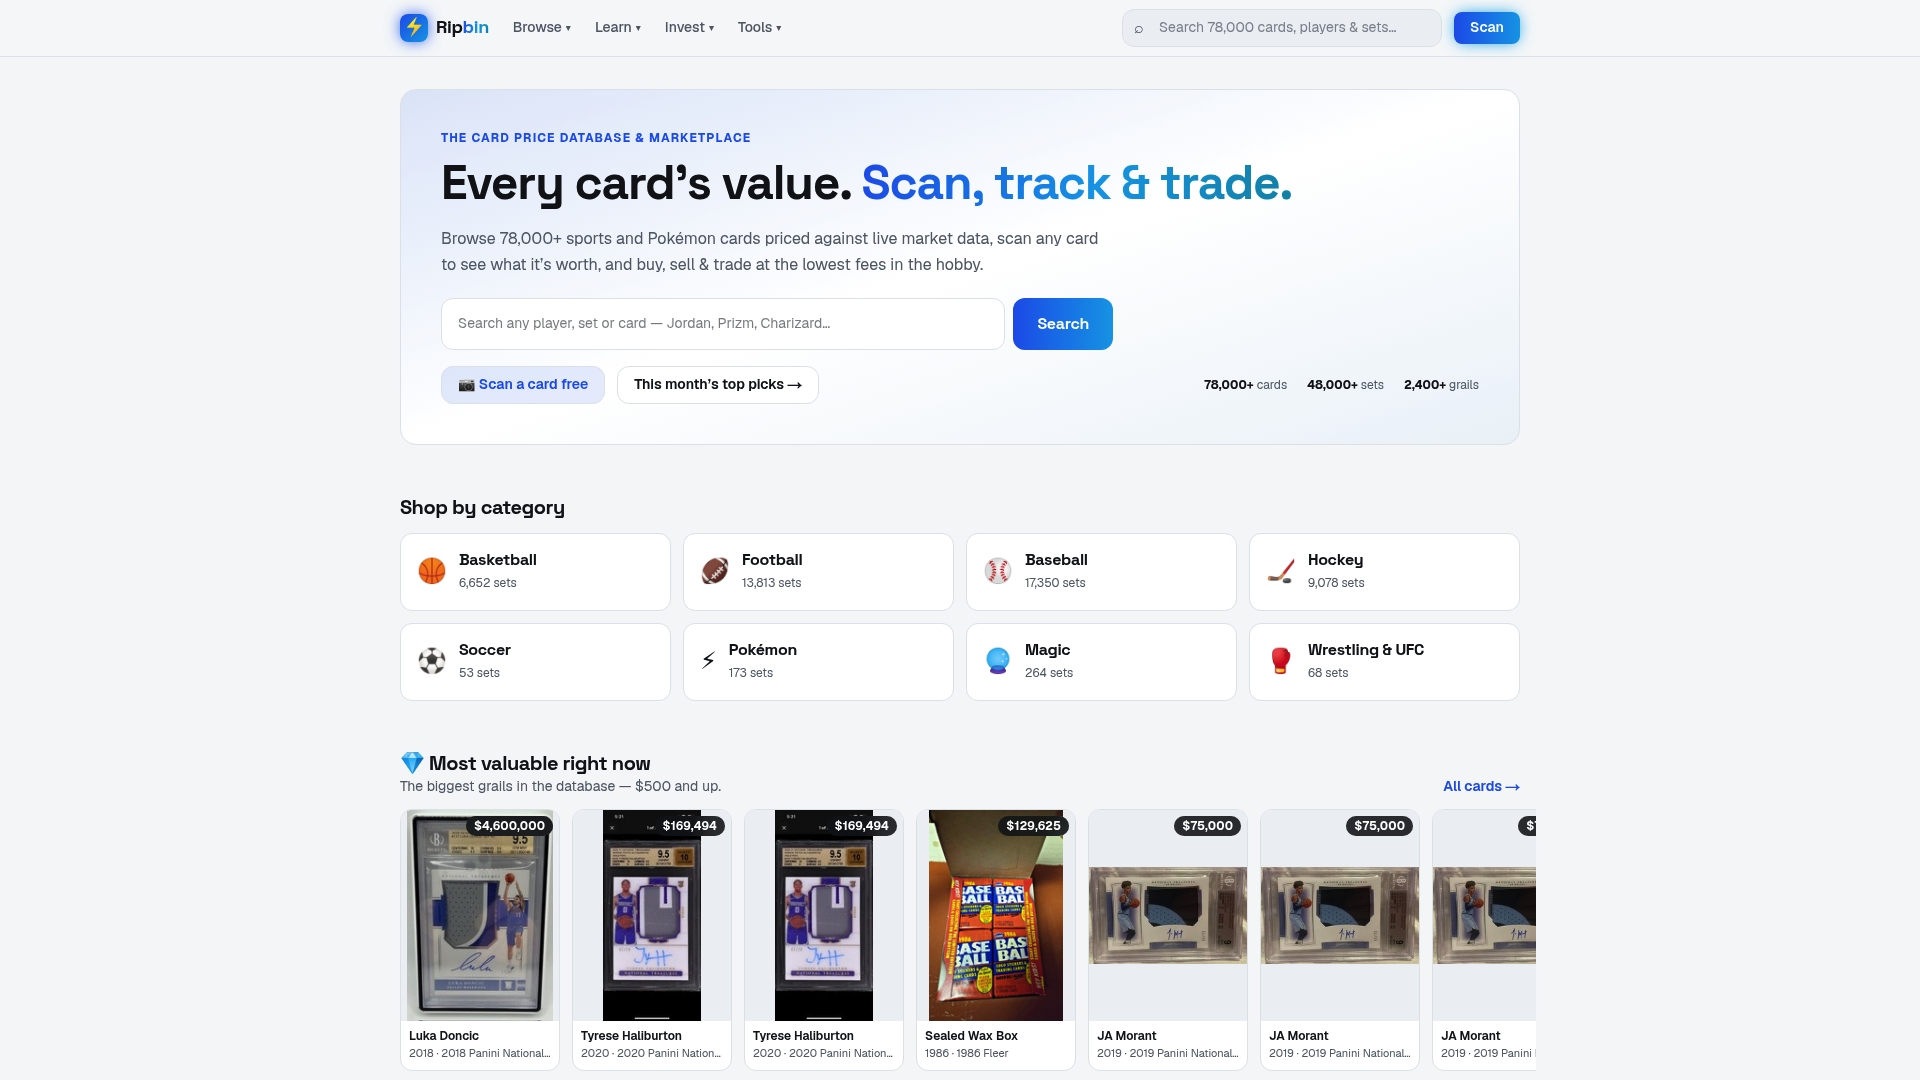
That number then drives the rest of your packing decision: a card trending upward deserves the small box and the extra insurance, while a stable common is fine in a padded mailer.
- Scan the card to pull an instant value from recent sales data.
- Check the collection locker if you’re shipping several cards from the same lot, to see which ones justify extra protection.
- Set a declared insurance value matching what the scan shows, not a rounded guess.
Our card value database covers sets and checklists across sports and Pokémon cards, and scanning a card takes less time than cutting your cardboard stiffeners.
FAQ
What is the cheapest way to ship trading cards?
A plain white envelope with a cardboard stiffener works for low-value commons, but it skips the tracking and insurance that come included with USPS Ground Advantage. For anything you’d want replaced if it got lost, a padded mailer with the three-layer method and Ground Advantage postage is the cheapest option that still includes real protection.
How much does it cost to ship 20 cards to PSA?
PSA doesn’t publish a fixed shipping cost since it depends on your package weight, box size, and chosen carrier, but PSA’s submission guidance covers the packaging checklist you should follow regardless of carrier. Using Card Saver 1 holders for each card and a well-padded small box keeps the shipment safe without unnecessary bulk.
How do I ship cards safely to PSA?
Pack each raw card in a Card Saver 1 semi-rigid holder rather than a rigid toploader, since PSA recommends Card Saver holders for submissions to make handling easier on their end. Follow the official submission packaging checklist, pad the outer box well, and keep your paperwork inside the package matching your declared value.
How do I ship trading cards with USPS?
Use the three-layer method, penny sleeve, toploader or Card Saver, and team bag, sandwiched in cardboard, then ship with USPS Ground Advantage for included tracking and $100 of insurance. For higher-value cards, purchase additional coverage up to $5,000 and keep your tracking number until delivery confirms.
Sources
- Card Saver for PSA guide — EvoRetro
- USPS Ground Advantage
- How to submit cards to PSA — PSA
- How to ship collectibles safely — DHL